Calisthenics equipment: do you really need it when you start?
Yes, you probably do. But what is worth your money? I mean, theoretically, you could start working out just using the floor, a bench, a table, a wall, or whatever you can find at home or in a nearby park. The problem is that unless you already have a basic knowledge of how the human body works while performing certain exercises, starting with calisthenics is not as simple as it seems, and it can be demotivating. As with everything in life, obviously, you are very excited at the beginning, and in the first period, you have no problem testing your body by doing some weird push-ups or core exercises that you once saw performed by a random guy in a gym, but that fire can extinguish very soon.
This is the moment that comes to our aid: the CONTENT CREATORS. With tons of content on the internet (Instagram, TikTok, YouTube, etc.), we have plenty of choices about what exercise we want to do, and that’s how most individuals overcome the first dip. You try something new ( and you learn something new ), and inevitably, you are going to improve because your brain is prone to adaptation. Unfortunately, unless you are a genius of programming or a genetic “freak”, this is another flash in the pan.
You’ll get stuck ( plateau) at some point because you have no idea how to progress; you begin doing silly and useless exercises that don’t suit your level, and most likely you are gonna get injured.
Here is where you make your decision: hire a coach, quit, or you just buy stuff you don’t need, because you are still not aware of the fact that it is not the equipment that makes the difference, but how you use it.
It is about this last point that I want to draw your attention to.
EQUIPMENT
When we get into the fitness industry, we are overwhelmed with all sorts of information and products that promise us amazing results and a shredded body in 6 months. I’m not here to explain to you how consumerist society works. Nevertheless, I‘d like to give you a few tips about what equipment is worth your money if you just started your journey into calisthenics. However, I‘ll limit myself to describing the features of each piece of equipment, what the pros and cons can be, and how you can use them. Both because I want to go deep into them in other articles, and because I don't want to sound long-winded.
PULL-UP BAR
We have plenty of choices here. My first advice would be: if you want a stable pull-up bar, find a park and train there. If you live in a remote village in the south of England, and the first park is 30 miles away, or, even worse, the council never provided an adequate maintenance level to their equipped area, and every time you pull up a good amount of rust end up in your face and in some cases in your eyes ( which is not funny because is very dangerous), than i’ll give you a few option here down below :
Doorway pull-up bar: the cheapest pull-up bar. It was the first piece of equipment I bought when I was a kid. My personal advice: don’t buy it. Engineers gave their best to design this little diabolic machine. It is probably one of the least safe things in the world. I mean, even the most famous fitness content creators don’t advise you to buy it.
They pay them to sponsor their products.
Basically, for those who don’t know how it works, you place the bar in the middle of the doorframe, and you spin the middle of the rod until it can’t move. Theoretically, you have to rely upon the friction between the rubbery end of the bar and the doorframe. Problem number one: the rubbers can be consumed quickly. Problem number two: it ruins the paint on the door frame; if it is not painted, it can ruin the wood/plastic of the door frame. Problem number 3: there is a risk you rotate the bar while you are doing an exercise, which will lose the bar. Problem number four: if you want to do a wide pull-up, there is no space unless your door frame is really wide ( and also the bar you bought) or you have very short arms.
Probably the only good thing about it is that it is portable ( yes, but portable where?) and that you can place it at any height at the door frame, which allows you to do different exercises like bar dips or lock your feet for a sit-up.
There would be an option, however, to make it safer. Screw it in. But it’s something that you have to do on your own, and would you risk your door frame for a 20-pound pull-up bar?Doorway pull-up bar ( version 2 ): This is the version that you hang at the top of the door frame ( with a hook), and you need to be careful about what kind of door frame you have. If it’s very thin, well, this is not what you are looking for because it can easily come off the hook. Also check the size of the bar and your door frame before you buy it. I mean, its use is very limited, not only because the list of exercises you can do is inferior even to version 1, but it is also bulkier ( due to its shape). It often has attachments where you can do different pull-up variations ( wide pull-up, neutral-grip pull-up).
Wall bar: this is a very good bar, especially if you have a solid wall where you can screw it in, which also makes it very stable. It’s not portable unless you want to unscrew it every time. Personal advice: make sure there is enough space between the bar and the ceiling when you install it (I don’t want you to knock your head while doing a pull-up). This bar also gives you more space while you are training as well, which is good if you want to integrate different exercises, for example, some core suspension exercises. From my experience, I also think that the bar itself is made of a better material compared to the previous two, and this is one of the reasons that makes it more expensive. You can find them for a low price, but at this point, if you opt for this choice, it is probably worth spending a bit more.
Stands : we can divide this in two groups ( depending on the cost, they have additional features and attachments ) :
- pull-up stand: this is mainly made for pull-ups, and depending on the model, also dips or elevated push-ups ( you can flip it in different positions ). I tried it a couple of times, and I can say that they didn’t convince me. I had the feeling they weren’t really stable, and the list of exercises you can do is limited to the so-called “basic one”. It is also very light to carry, the basic model at least, but in my opinion the problem is the price, which goes from 100 pounds and over. At this point, if you have space at home, a much better option is the next one I will talk to you about.
- squat stand: the picture at the beginning of the chapter shows you this type of “ bar “, and I say “bar “ because it is not a bar, but a real squat station where you can rack your barbell and use it for different exercises, like a squat or even bench press. The bench is not included in the product, unfortunately. However, I find this the best option if you want to do pull-ups or another calisthenics exercise in a safer and non-limiting way. The price starts from 100 pounds, and at this price you can feel the difference from a more expensive one in terms of stability, but I still think it is a good option if you want a cheap bar. The issues you have to cope with at this bar are maintenance, particularly if you keep it anywhere outdoors. Rain and humidity are just a few things that can ruin the material ( the cheapest ones are made of iron). Pay particular attention to the bolts, because they are very easy to rust. The last thing is that it takes at least 30 minutes to assemble it, and the instructions are not always clear, so if you have had problems in the past assembling IKEA furniture, you will find the same problems here.
GYMNASTIC RINGS
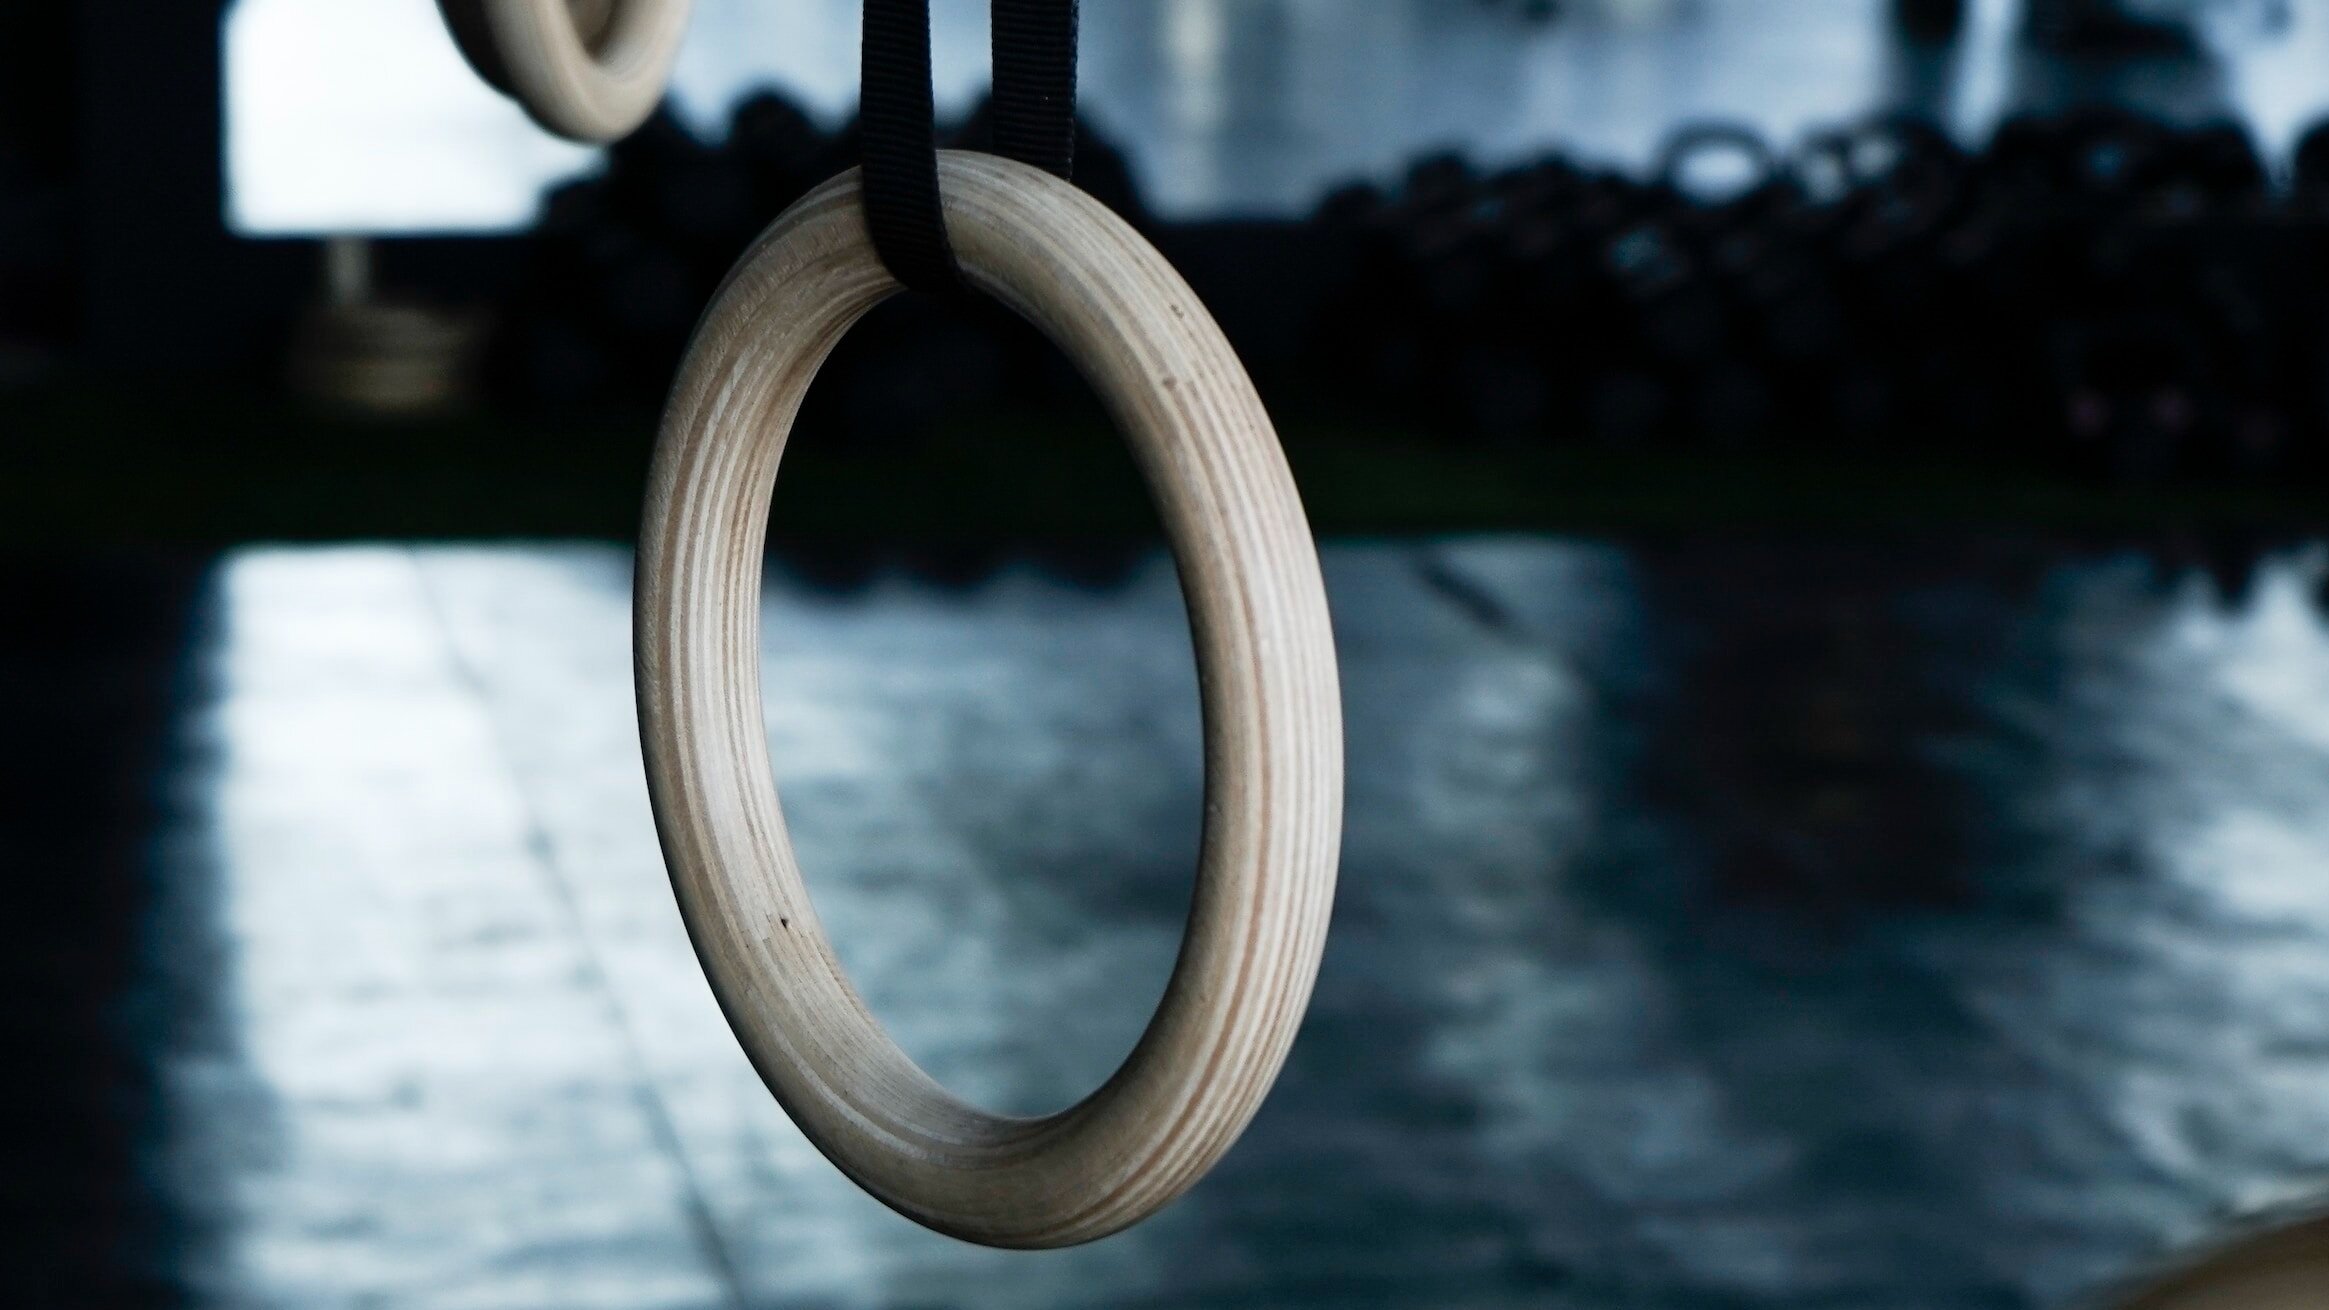
We need to make two distinctions: size and material. But before I start talking about different types of rings, I want to make an introduction that is gonna be off-topic. Rings are not easy to use. Even if you can hang it everywhere and fitness gurus tell you that it is worth your money, CrossFitters do crazy stuff with them. If your level is very low, the number of exercises you can do with rings is very low, which is true especially if you are not followed by a coach, that has a better knowledge of the human body movement ( But hey, they are cool, let’s post it on instagram ) and even so, you won’t reach the desired results that instead you can achieve performing an exercise in other surfaces ( i emphasize the term for “beginners”)
2.1.Material .
Plastic: my first set of rings, back in 2014 ( was a plastic-made one), and I personally appreciate those rings because of their roughness. However, I heard of people complaining about the slipperiness of some plastic rings; this is probably because of a different type of plastic. A good tip to overcome this problem would be to put tape around the ring ( which is something I did one time with very slippery parallettes ). Plastic rings are the cheapest ones, but as you can notice by yourself scrolling on Amazon ( or other websites), they are not much cheaper than wood ones.
metal: this type of rings has the same problem as plastic ones, probably even worse. And my first impact on these rings wasn’t very good, and personally I don't advise you to buy them. They are not even easy to find online, and in fact the few times I tried them were in some equipped areas.
Wood: without mincing words, this is the best option. You have to treat them well, because unlike plastic and metal ones, they are subject to weather ( rain and humidity in particular ), so make sure that when you are done with your workout you store them in a safe place. They also suffer less from sweat because of the nature of the material; they tend to be less slippery.
2.2 Size.
28 mm: plastic, metal, and wood rings have this option. If you are doing exercises with a normal grip, both in suspension and support position, this size fits better with your grip ( you will have a stronger grip).
32 mm: a better option if you want to do any exercises that involve a false grip. Generally, only wood rings offer this option.
There are also other size options, but they are not relevant. Just base your choice on 28 mm or 32 mm.
The choice should be made based on the straps as well. Generally speaking, the best straps are the wider ones that come along with wood rings. These straps are usually numbered, so that they help you set them up at the same height.
PARALLEL BARS/PARALLETTES

Parallel bars or parallettes are amazing tools if we want to make some variations to our workout. The materials we find out here are the same as the rings ( wood, metal, and plastic ), with the only exception that, in my opinion, is less relevant ( but not entirely ), because the largest part of the exercises you can do require your center of mass to be above them. However, if you want the best grip, the wooden ones are what you are looking for.
What it change instead is the height :
Parallel bars: they are about 1 meter tall, and generally they are made of metal, very light and easy to assemble. They are the only type that allow you to do pulling exercises, like body rows, or even L-sit pull-ups if they are very tall. For obvious reasons, I wouldn't advise you to use them for handstand work ( if you are inexperienced ), and you have to be clever if you want to use them for push-ups ( you can flip them upside down ). Some models of these types of parallel bars are also adjustable (extendable). On high settings, you can experience a little bit of wobble. Another feature that might be weird in your first workout is the thickness of the bar ( thicker than parallettes), which you might not be used to, but it won’t be a major problem in the long term.
High and medium parallettes: I put them in the same category for the simple reason that what it change is that the high one helps you overcome some lack of mobility if you want to perform compound dynamic movements like straight-arm L-sit press to handstand or similar, and that they offer you an increased range of motion as well.
Low parallettes: they are my favorites. We can find longer ones or very short ones. I always opt for something in between, mainly because they are easily portable. To be honest, I bring them with me even when I am on holiday.
push-up holders: waste of money. Cheap material, not stable; they are also uncomfortable for your wrists because they are not straight ( some of them ). I personally don't see one single reason why you should buy them.
LOOP BANDS

This is a must, not only for calisthenics, but also for gym workouts. Their versatility is their most amazing feature. They can be used for many reasons , which can vary from : mobility work, warm up , to assist you in still too challenging exercises ( providing support and reducing your bodyweight ) , or for functional exercises for your specific sport or ,with a little bit of creativity to ( in some cases) isolate some muscles ( like biceps curl ).
They are very light and easy to carry, and like any other accessories, you need to take care of them. In particular, remember not to leave them outside for a long period of time during very cold winters, because they become unusable ( personal experience).
The purchase choice depends on your level and what you want to do with them. In fact, there is a wide range of different resistances that go from 5 kg up to 100 kg. If your purpose is to do some mobility or rehab work, the lighter ones are a better choice.
If you need a lot of assistance for your exercises or your progress is going well and you need more resistance, opt for heavier ones ( or you can also use two light ones together ).
In calisthenics, they are commonly used for assisted pull up/muscle up or harder variations of dips/push ups.
They can also be a smart way to build muscle. Theoretically speaking, resistance band workouts follow the 3 hypertrophy principles ( mechanical tension, muscle damage, and metabolic stress), even if it is harder to isolate the muscles, because the tension you generate during the exercise inevitably is going to affect the stabilizers and also the antagonist muscles, which in turn will reduce the effectiveness of the agonist muscles ( harder to bring to failure ). This is true for some exercises; however, you can in part overcome this problem using a support that can help you minimize the instability of the loop bands,
OTHER ACCESSORIES
I will summarize here below other calisthenics equipment that could interest you :
Weighted vest: is a common way to add weight to your bodyweight exercises. The cheapest version of this vest allows you to put up to 10 kg of weight in it ( you can put and remove the weight anytime you want ).
Chalk: is a very important accessory if you want to improve your performance in suspension exercises, because it helps you with the grip and it is very cheap. Liquid chalk takes longer to dry, but once you put it in your hands, you won’t need to apply it again for a decent amount of time depends on many factors, like the type of workout you are doing, the grip, the surface of the equipment, etc. On the other hand, a chalk block is already dried, and it gives you a less “chemical feeling”, but it also makes a hell of a mess, even if you keep it in a specific bag. Now, this is not a problem if you are working out at home, but in the gym, someone could complain.
Wrist wraps: they keep the wrist fixed, which in turn causes less stress to it. However, I consider these accessories more for advanced athletes, who work out with a higher amount of volume and repeat the same exercises over and over again. Both for beginners and intermediates, if you follow normal and healthy progressions to your workouts, you won’t need them.
Others: the list would be very long, but they are more like specific tools for a limited range of exercises, like a roller or a particular pull-up hold. They are not relevant to this list, but if you have money to spend and you want to try them, I mean, why not?
CONCLUSIONS
I can say that it is not important what equipment you choose, but how you use it. Potentially, any kind of equipment can help you build strength or hypertrophy, some more, some less. However, my advice for a “starter set" for beginners would be to buy a stable pull-up bar ( if you have space, a squat stand), some parallettes ( wood ), loop bands ( a light one + 15 kg, and a more resistant one +35/+50 kg).
See you next time!