Why You're Not Progressing in Your Handstand
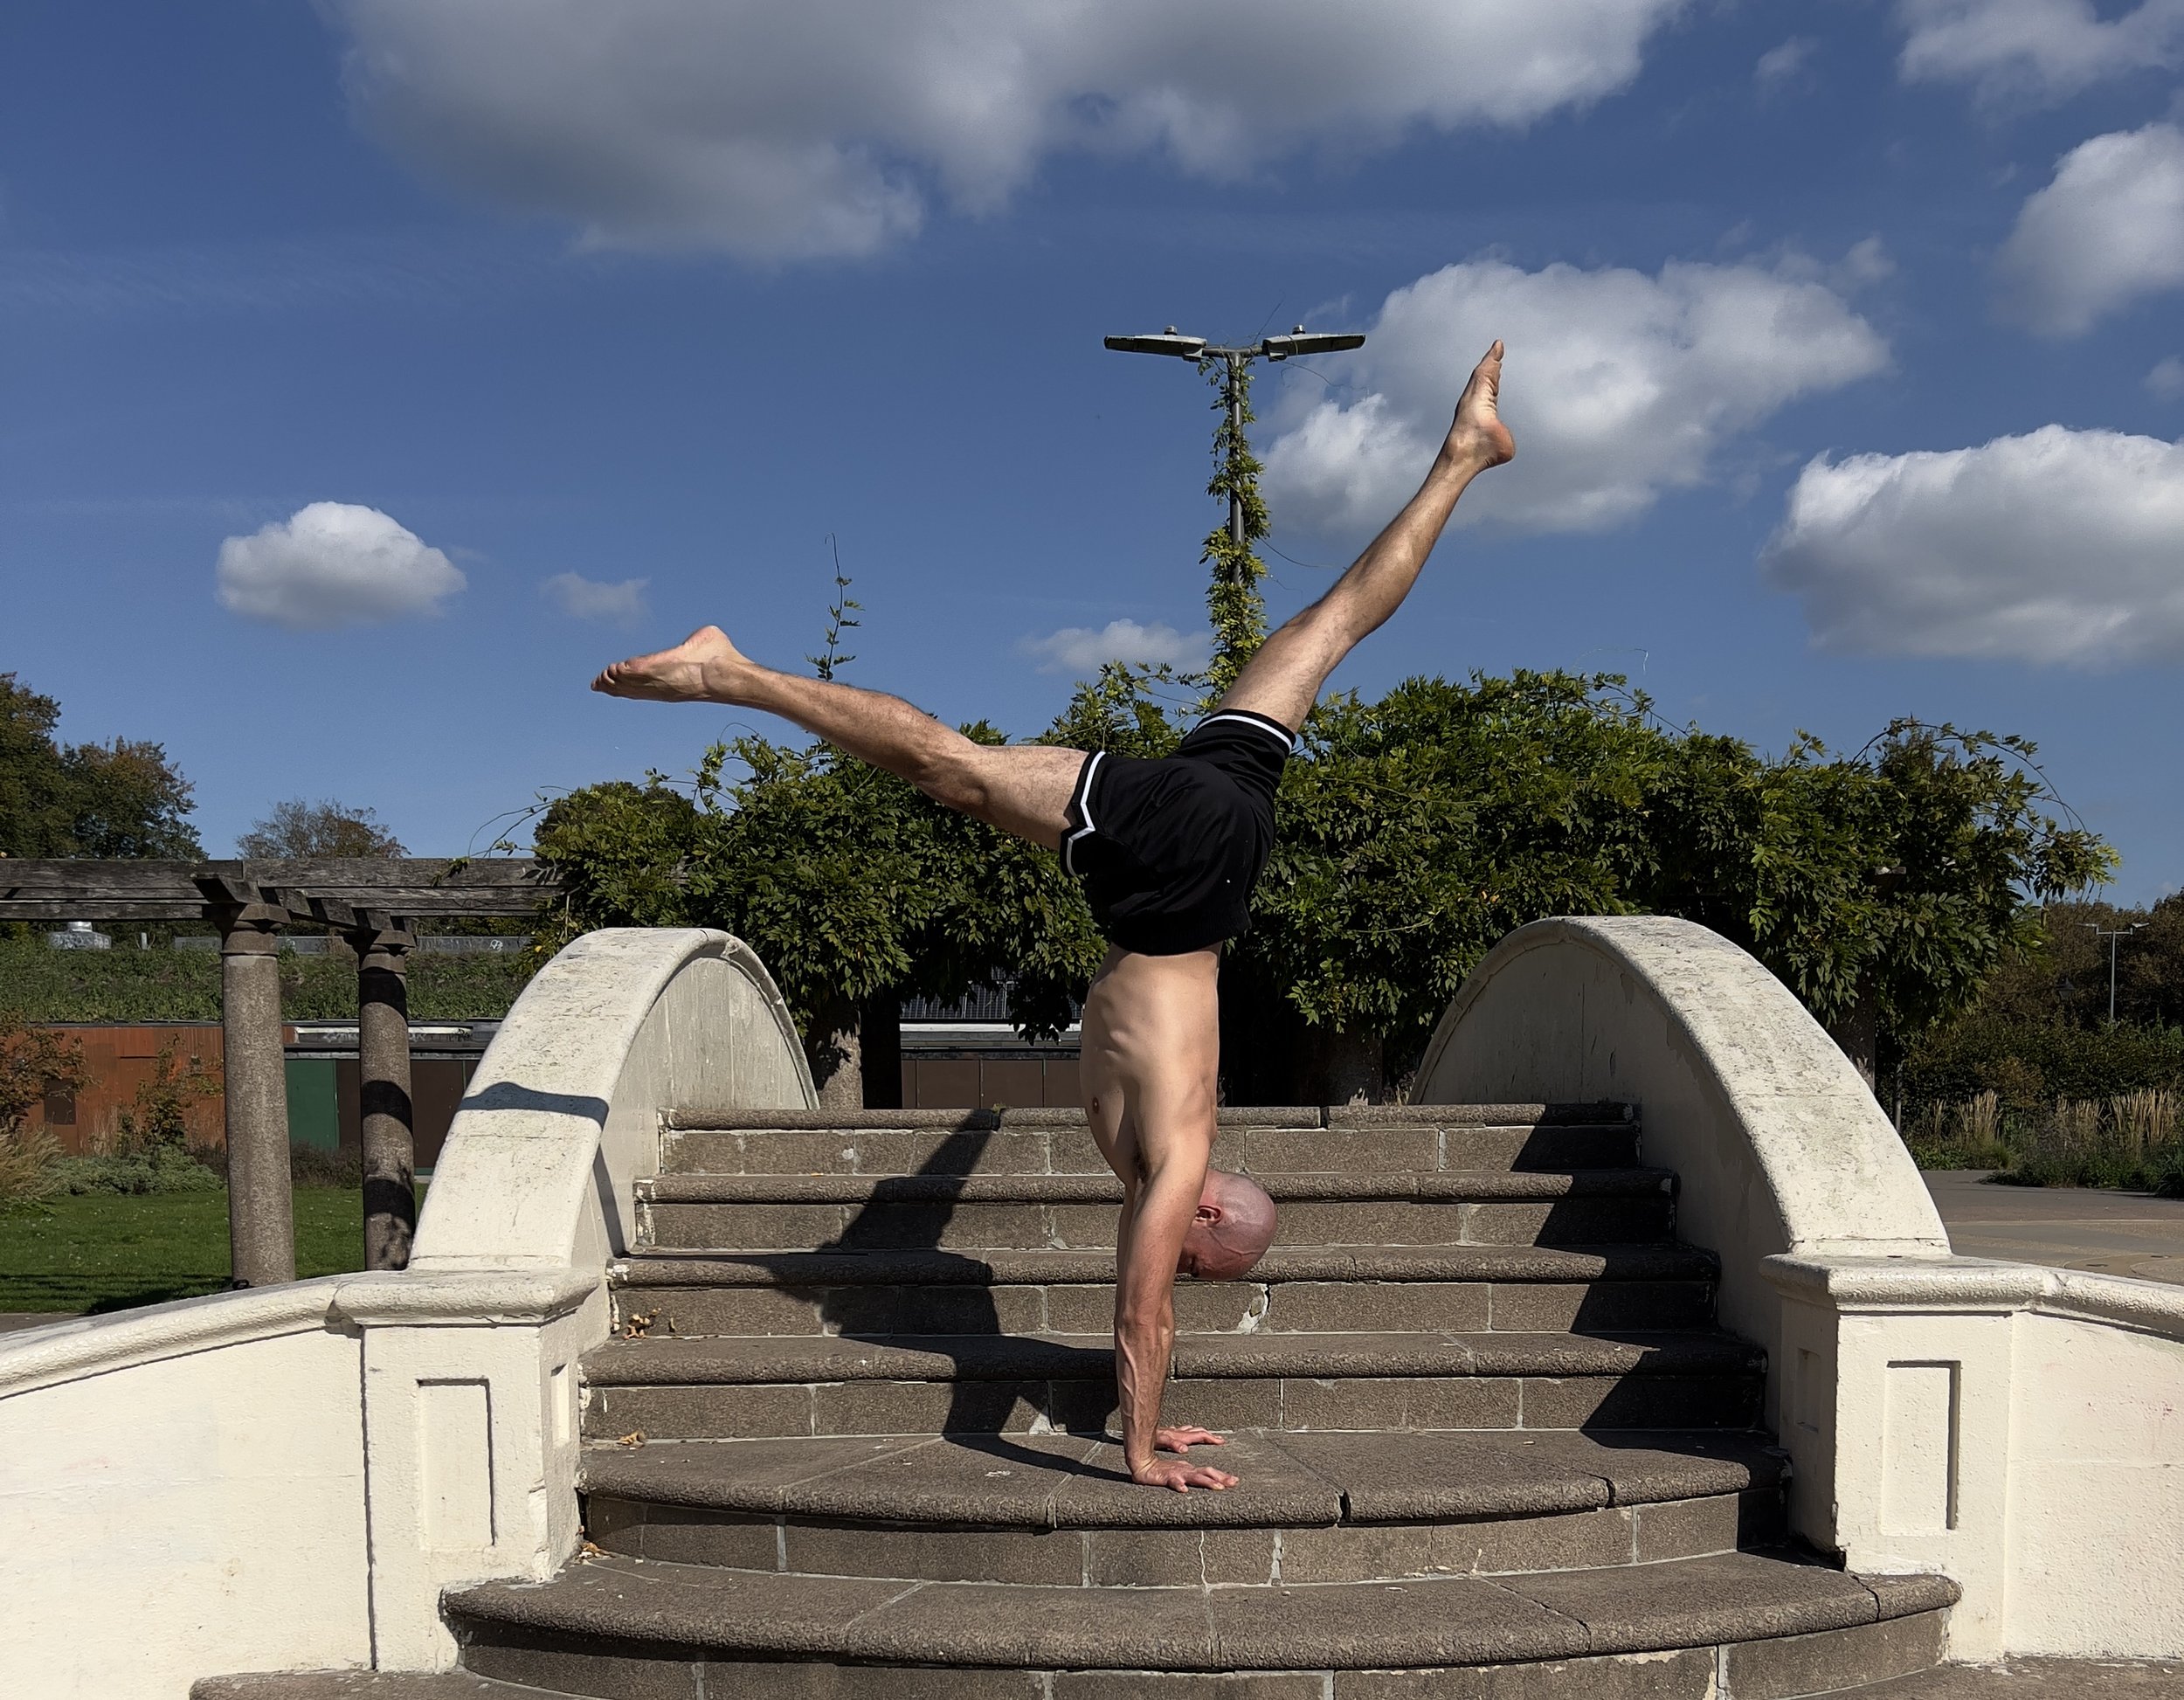
Handstand at The Level Park Brighton.
I’ve seen people practise handstands for years without making much progress.
Every session looks the same.
Kick up.
Try to find the balance.
Fall.
Kick up again.
Fall again.
And again.
And again.
If you’re lucky, you might even convince yourself that this approach is working because one day, completely out of nowhere, you hold a handstand for 5 seconds.
Amazing!
But… oops.
You left the camera off.
You can’t share it on Instagram.
No problem. Let’s do it again next session.
Except next session, you can’t even hold it for one second.
Suddenly it feels like you’ve taken one step forward and three steps backwards.
And maybe that 5-second handstand wasn’t really something you could reproduce.
Maybe you just got lucky.
Practising isn't always the same as improving
Think about this:
How many repetitions does it take to master a complex movement?
Hundreds?
Thousands?
Tens of thousands?
I’m not going to give you a number because I don’t want to shatter your dreams.
But it’s A LOT.
Oh! And I almost forgot one important detail…
A lot of TECHNICALLY GOOD repetitions.
This is where many people go wrong with handstand training.
They think:
If I want to get better at handstands, I just need to do more handstands.
But your body doesn't simply count repetitions.
It learns from what you repeatedly practise.
If you consistently practise a good position, good shoulder elevation and controlled balance corrections, those patterns become more familiar.
But if most of your practice consists of kicking up, losing your position and desperately trying to save the handstand before falling…
you're practising that too.
One ugly repetition isn't going to ruin your handstand.
But hundreds of uncontrolled attempts aren't necessarily the fastest way to learn one either.
The goal isn't simply to accumulate repetitions.
The goal is to accumulate useful repetitions.
So what's the secret?
No secret, my friends.
NO.
SECRETS.
You need patience.
And you need progression.
Instead of starting with the final skill and hoping your body eventually figures it out, build the handstand piece by piece.
Step 1: Understand what you're working with
Before I teach someone a handstand, I want to understand what their body can actually do.
Everyone comes into handstand training with different mobility, strength, proportions, coordination and previous experience.
Imagine someone who has spent 30 years working at a desk.
They might have limited overhead shoulder mobility or struggle to fully open their shoulders while keeping control of their rib cage and pelvis.
Now put that person upside down and tell them:
"Just keep your body straight."
Good luck.
If they physically struggle to reach the position on the floor, balancing upside down isn't going to magically solve the problem.
That's why the first stage should be an assessment.
Can you comfortably reach enough shoulder flexion?
Can you elevate your shoulders?
Can you control your ribs and pelvis?
Can you create a reasonably stacked position?
Do you have enough wrist mobility?
Are you comfortable being upside down?
Before worrying about balance, find out what's actually limiting you.
Step 2: Build the physical requirements
Once you know your limitations, you can start working on them.
For one person, the priority might be shoulder mobility.
For another, it might be shoulder elevation strength.
Someone else might have plenty of mobility and strength but absolutely hate being upside down.
This is why blindly copying somebody else's handstand programme doesn't always work.
The destination is similar.
The route to get there might not be.
While working on mobility and strength, you can also gradually become more comfortable with inversion.
Headstands, shoulder stands and other appropriate drills can be useful here.
You're not trying to balance a handstand yet.
You're preparing your body for one.
Step 3: Break the handstand into pieces
A handstand looks like one movement.
But there is a lot happening at the same time.
Your hands are interacting with the floor.
Your shoulders are elevated.
Your rib cage and pelvis need to be controlled.
Your legs need to contribute to the position.
And all of these things need to happen while you're upside down.
Trying to learn everything simultaneously is difficult.
So simplify it.
Break the handstand down and practise the individual components.
Learn what shoulder elevation feels like.
Learn how to control your pelvis.
Learn how to stack your body.
Learn how your fingers interact with the floor.
Learn what a good body line actually feels like.
Then start combining those pieces.
Step 4: Use the wall properly
This is where the wall becomes incredibly useful.
And no, using the wall doesn't mean you're a beginner who isn't "ready" for real handstands.
The wall is a tool.
Used correctly, it allows you to practise the position without constantly worrying about falling.
I particularly like the belly-to-wall handstand because it allows you to get much closer to the position you eventually want to reproduce without the wall.
Instead of thinking about surviving for another second, you can actually pay attention to your body.
Where are your hands?
Are you pushing through the floor?
Are your shoulders elevated?
Where are your ribs?
Where are your hips?
Are your legs actually stacked above you?
Now you can spend meaningful time in the position.
And that gives you something extremely valuable:
repeatable, high-quality practice.
You're building a handstand before trying to balance a handstand.
Step 5: Now learn to balance
Eventually, however, the wall has to disappear.
And this is where things become really interesting.
Because having a beautiful handstand against the wall doesn't automatically mean you can balance one.
Now you need to learn how to make constant, tiny corrections without destroying the position you've spent all this time building.
Your fingers and wrists start playing a much bigger role.
You need to recognise when your centre of mass is moving away from your base of support and react quickly enough to bring it back.
And you need to do all of this while maintaining your alignment.
This transition: from a controlled wall handstand to a free handstand is one of the most important stages of handstand training.
And it's also where many people get stuck.
But that…
is another story.
Stop chasing lucky handstands
If there's one thing I want you to take from this article, it's this:
Don't measure your handstand progress only by your longest hold.
A random 8-second handstand followed by twenty failed attempts doesn't necessarily mean you're better than you were last week.
Look for repeatability.
Better alignment.
More controlled entries.
Better awareness of your mistakes.
Smaller balance corrections.
More successful attempts.
That's progress.
The goal isn't to get lucky enough to catch a handstand.
The goal is to build a handstand that you can reproduce.
And once you understand that, your training starts to look very different.